In this article, I’ll show you Step-by-Step guide to Install WordPress Manually on cPanel in a very easy and simple way.
As per the internet record, more than 40% of websites in the world use WordPress & if we talk about cms (content management system) nearly 59% of websites of WordPress. so there is no doubt about WordPress power.
Now it’s time to know the powerful features of WordPress. From the beautiful design to powerful features, your hands-free to customize your design with thousands of free and paid themes.
Now you familiar with all WordPress features and I believe you must use WordPress for your dream project. So, let’s start our WordPress installation process.
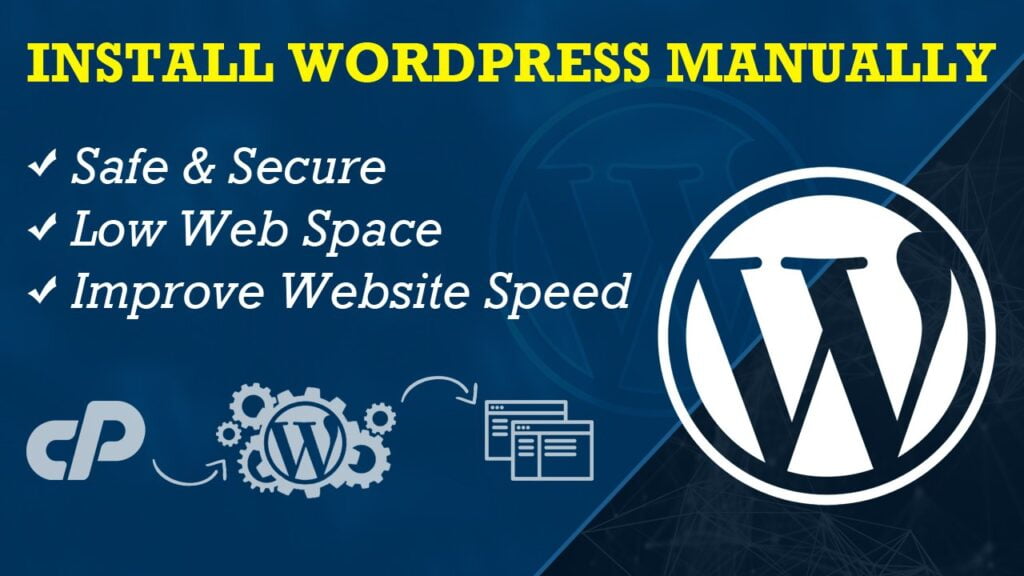
First of all, I explain a few things. why I suggest to anyone to Install WordPress Manually. Security is the main concern about the manual setup of WordPress. Because when we install WordPress with the help of third-party applications, at that time our all credentials like email usernames n all stuff also share with those applications. which is not good for our website.
Secondly, when we install WordPress with the help of another third-party resource at that time some extra files also install to our server which increases our hosting load, so this is also not good for our website speed.
Now you know why I recommend you to Install WordPress Manually, now the next step is how to install WordPress in our server cPanel in a very easy and simple way.
For this process, we need one domain name and hosting. you can Buy Fastest Web Hosting, once you buy hosting also get free SSL & Free CDN for your website. which is very important for your website.
Now I believe you are ready with your hosting & domain. let’s move to our next step. Just log in with your hosting detail. when you buy hosting at that time you get this login info, from where you log in to your hosting cPanel. Once you login then this screen appears.
Create the MySQL Database and User
Now you have to click on MySQL Databases under DATABASES Section, once you click then on your next page you have to create your database name. as mention in the below image
After creating your database, now you have to create your user name and generate your password.
After creating your user name you have to scroll down and stop it to add a user to the database, and here you select your user and database with a dropdown area. now click on Add Button.
once you click on that, Now on the next screen give permission to Manage User Privileges. check on All Privileges and click on the make changes Button. Now your database work is done here.
Download the WordPress Package
Now it’s time to download WordPress from wordpress.org official website. Click Get WordPress Button and after that click on Download WordPress Button. Now you have one zip file with WordPress name unzip it.
Now click on your WordPress folder which you unzip earlier. nowhere another WordPress folder, click on them now you get your all files. Here you got one file which name is wp-config-sample.php, rename it with wp-config.php
open wp-config.php file with a text editor (notepad++), Now here you have to update your Database name, user name, and password. which you created in the first step after that save and close the file. Now back one step in our folder and compress your WordPress zip folder.
Upload WordPress Files to your cPanel
Now open your cPanel and click to file manager under Files Section.
After that click on public_html Folder, Now click on the upload button, and upload your WordPress latest zip file. After uploading, you have to extract your file in cPanel.
Now Double click on your WordPress folder & select all files, now click on the move button from the top area. Now use /public_html instead of /public_html/wordpress. and click on the move files button. for better understanding upload one video at the bottom of the article, watch this video.
Now your all files are at the right place, just delete some files which not for use for us and also for security reasons you have to delete it. first of all delete your WordPress folder which is empty now, after that delete WordPress zip files. Mostly user forgets to delete this files but from here some hacker steals your all info and hack your website. So remove it from your server.
Now, it’s time to check our website status. check your domain on your web browser and option to select your best language and click on continue.
After that, you have to enter some details about website Title, Email id, User name & password which is your WordPress login detail. Now click on Install WordPress.
Here you see Success! Message. WordPress has been installed. Thank you, and enjoy! Now login with your credentials and start to develop your Beautiful Amazing Website.
Login URL For Your dashboard: http://www.yourdomainname.com/wp-login.php
Conclusion
I hope you like this simple and easy article, it takes hardly 5-10 minutes to set up WordPress to your cPanel. For security reasons and peace of mind, you should Install Manually WordPress.
In this article, We had learnt Step-by-Step guide to Install WordPress Manually on cPanel in a very easy and simple way.
Also Read: